
If you’ve ever looked through construction plans, or talked with a drywall contractor, you;ve probably heard terms like Level 3, Level 4, or Level 5 finish thrown out.
What do those terms mean? What does it look like when the work is complete?
Drywall finish levels range from Level 0 to Level 5, with each level defining how much finishing work is performed on the drywall before the final wall treatment is applied. As the number increases, so does the amount of taping, joint compound, smoothing, and overall surface preparation.
The right finish isn’t necessarily the highest level available. It depends on several factors, including lighting, wall placement and location, and ultimately, the look the designer is trying to achieve.
What it means:
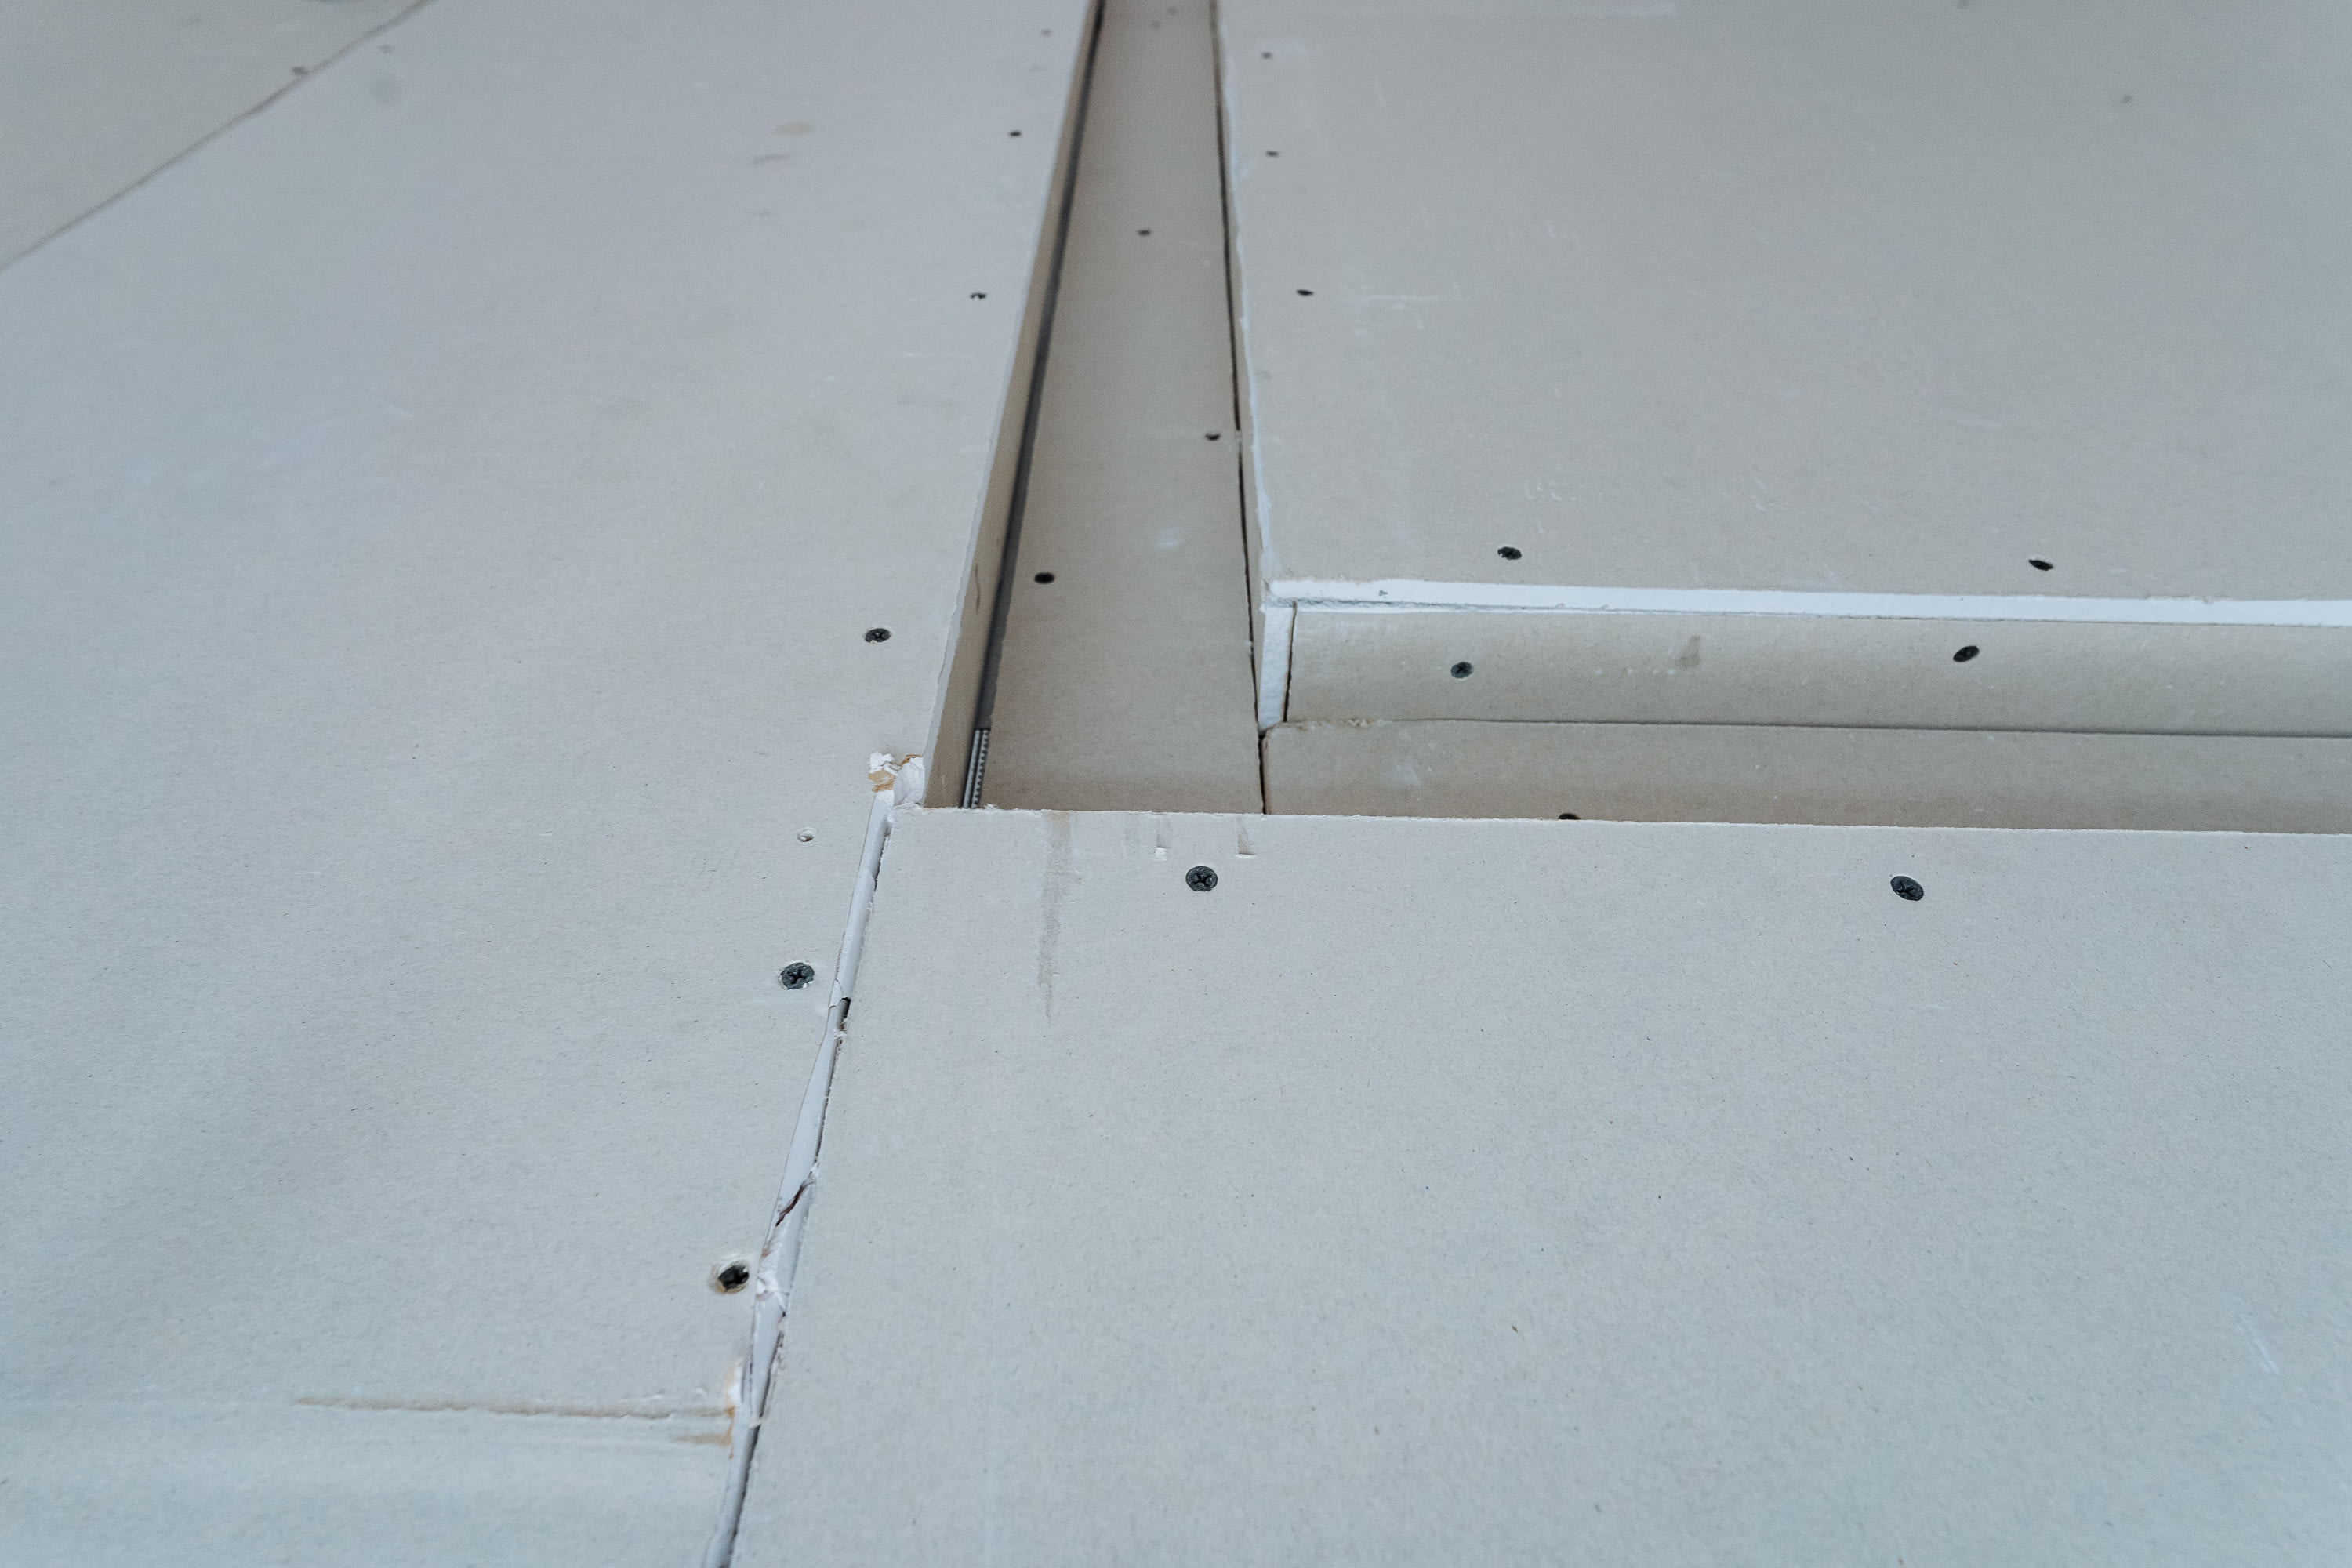
Level 0 is drywall in its most basic form. The gypsum boards have been installed, but no tape, joint compound, or finishing has been applied.
What it looks like:
Seams between panels, fasteners, corners, and other installation details remain completely visible.
Where it’s typically used:
Level 0 may be specified for temporary construction or when the final wall finish hasn’t been determined yet.
Think of Level 0 as the starting point. The drywall is up, but the finishing process hasn’t begun.
What it means:
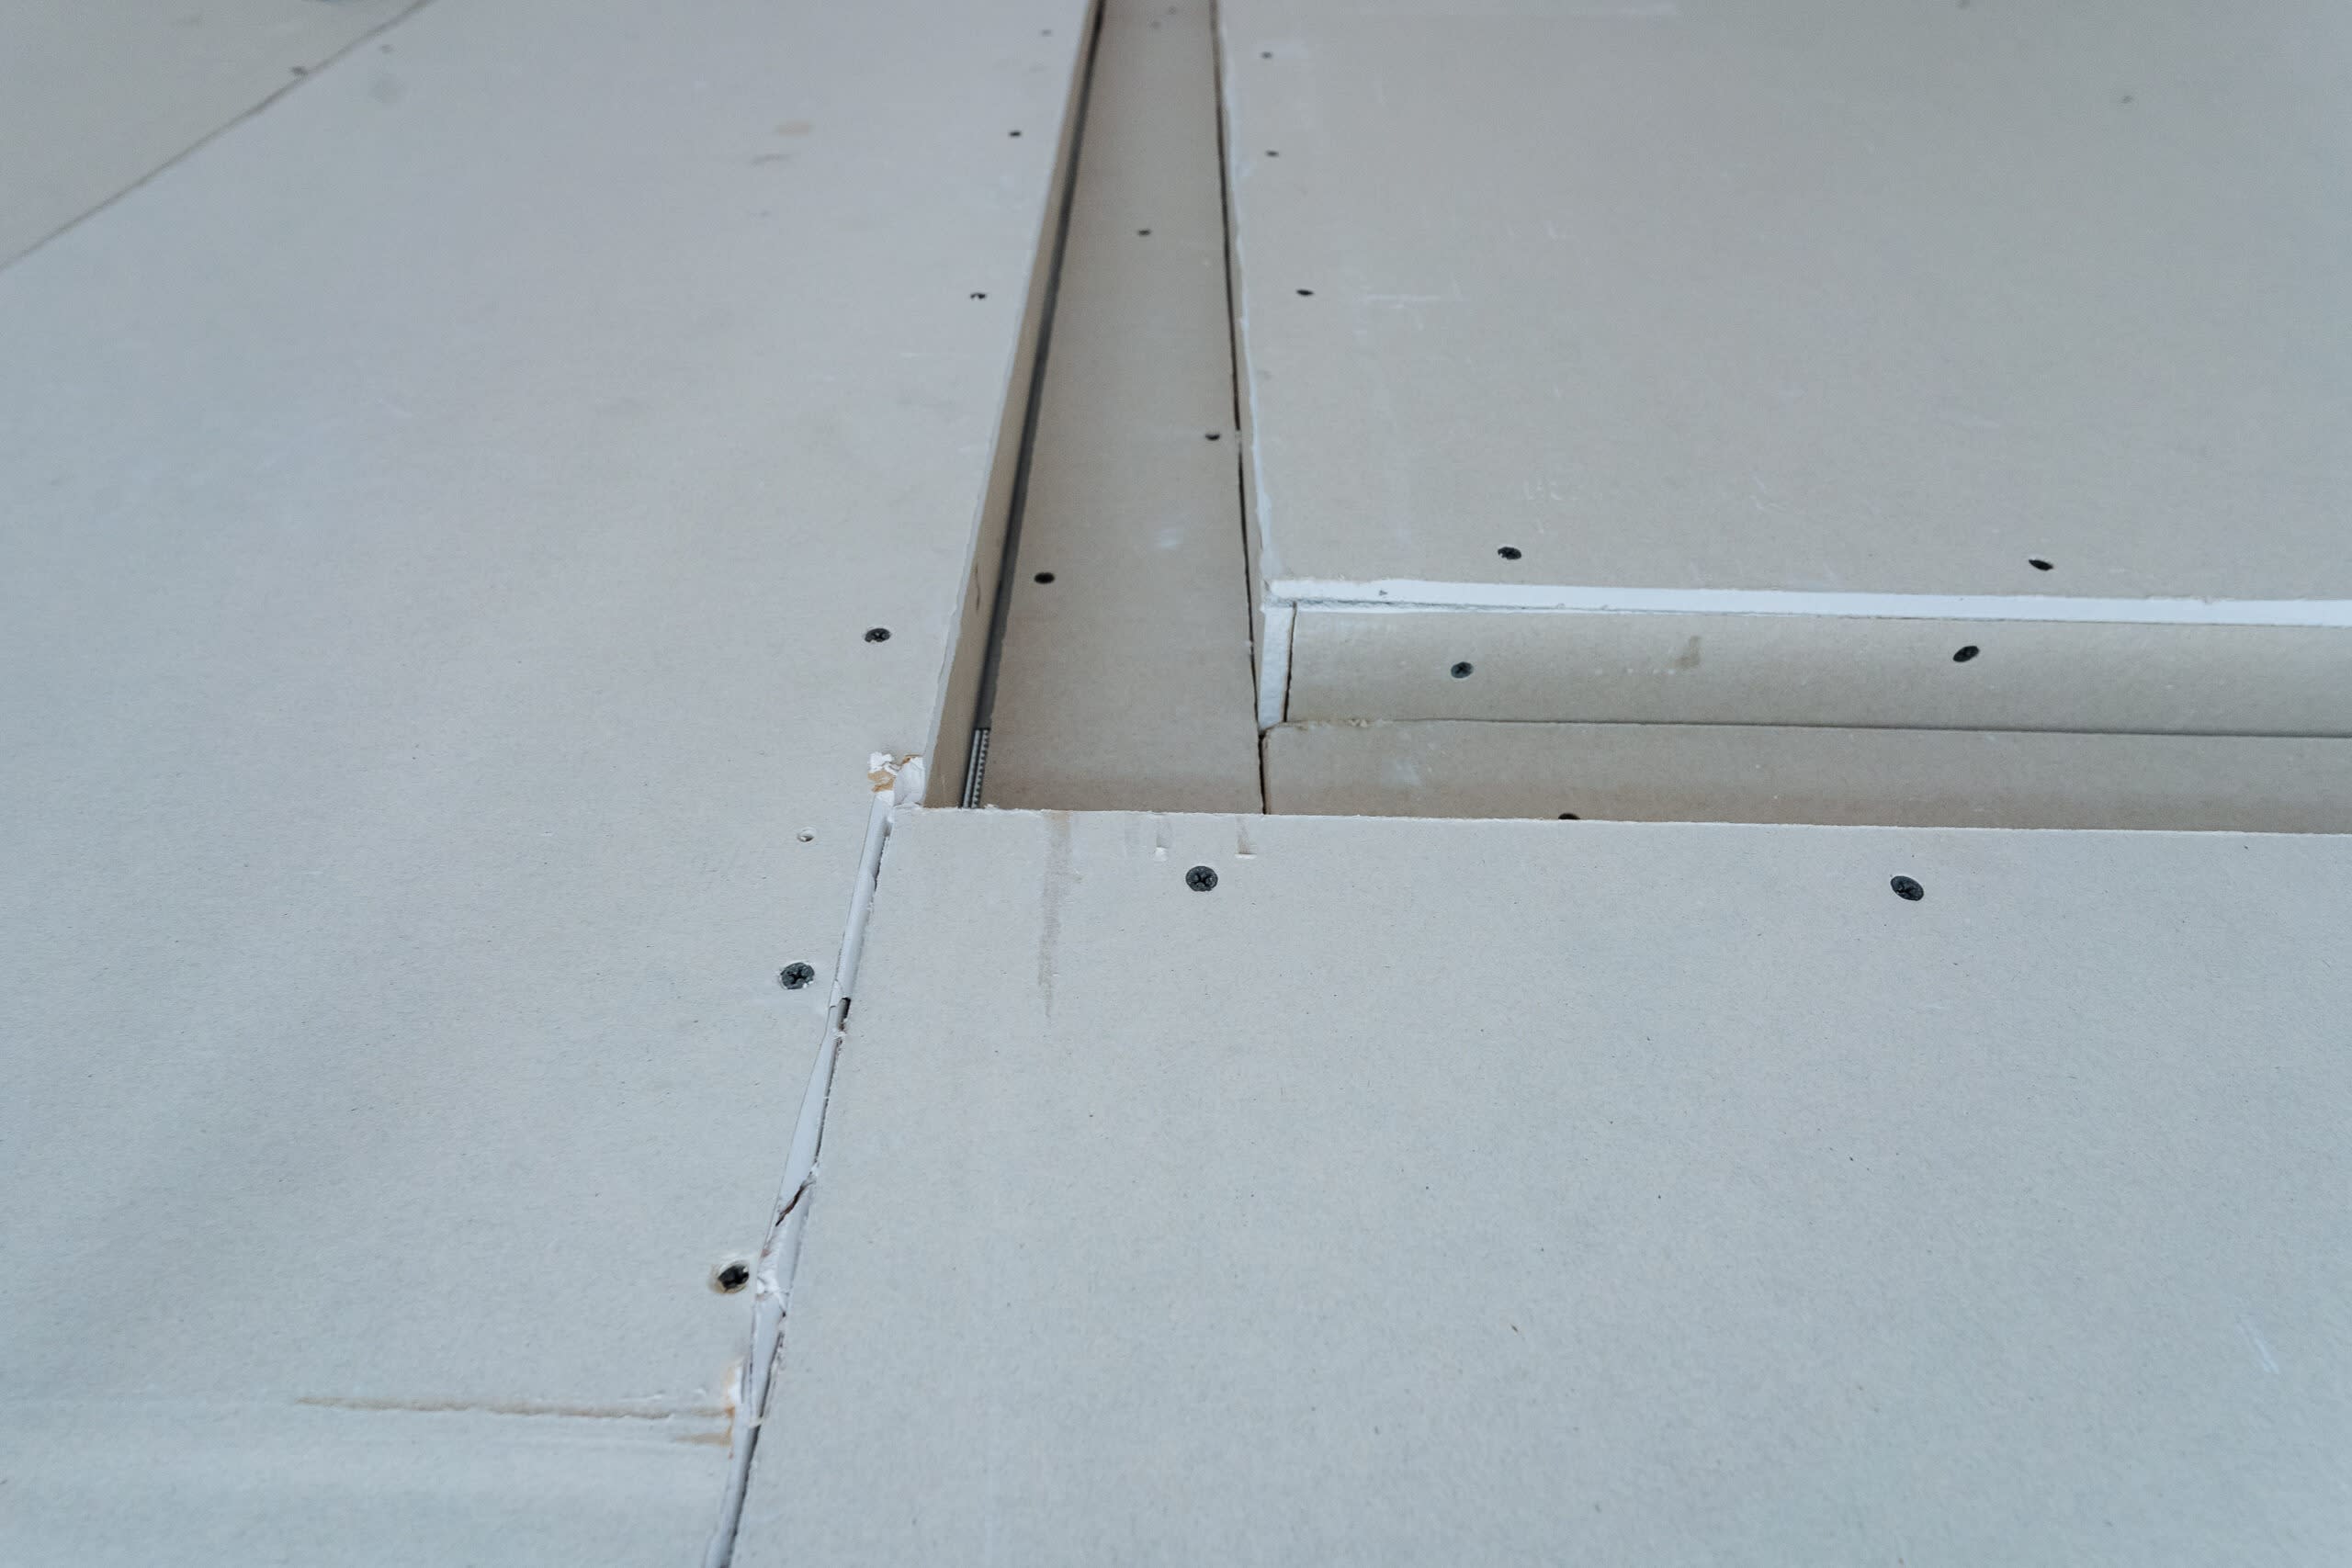
At Level 1, joint tape is set into joint compound at seams and interior angles, but additional finishing coats aren’t applied. Fasteners generally remain uncovered.
What it looks like:
The wall still looks unfinished. You’ll clearly see the taped seams, fasteners, and variations across the drywall surface.
Where it’s typically used:
Level 1 drywall is generally reserved for areas that aren’t normally visible, such as spaces above ceilings, attics, concealed areas, and certain smoke-barrier applications.
This level is sometimes associated with what’s commonly called fire taping, depending on the requirements of the assembly.
What it means:
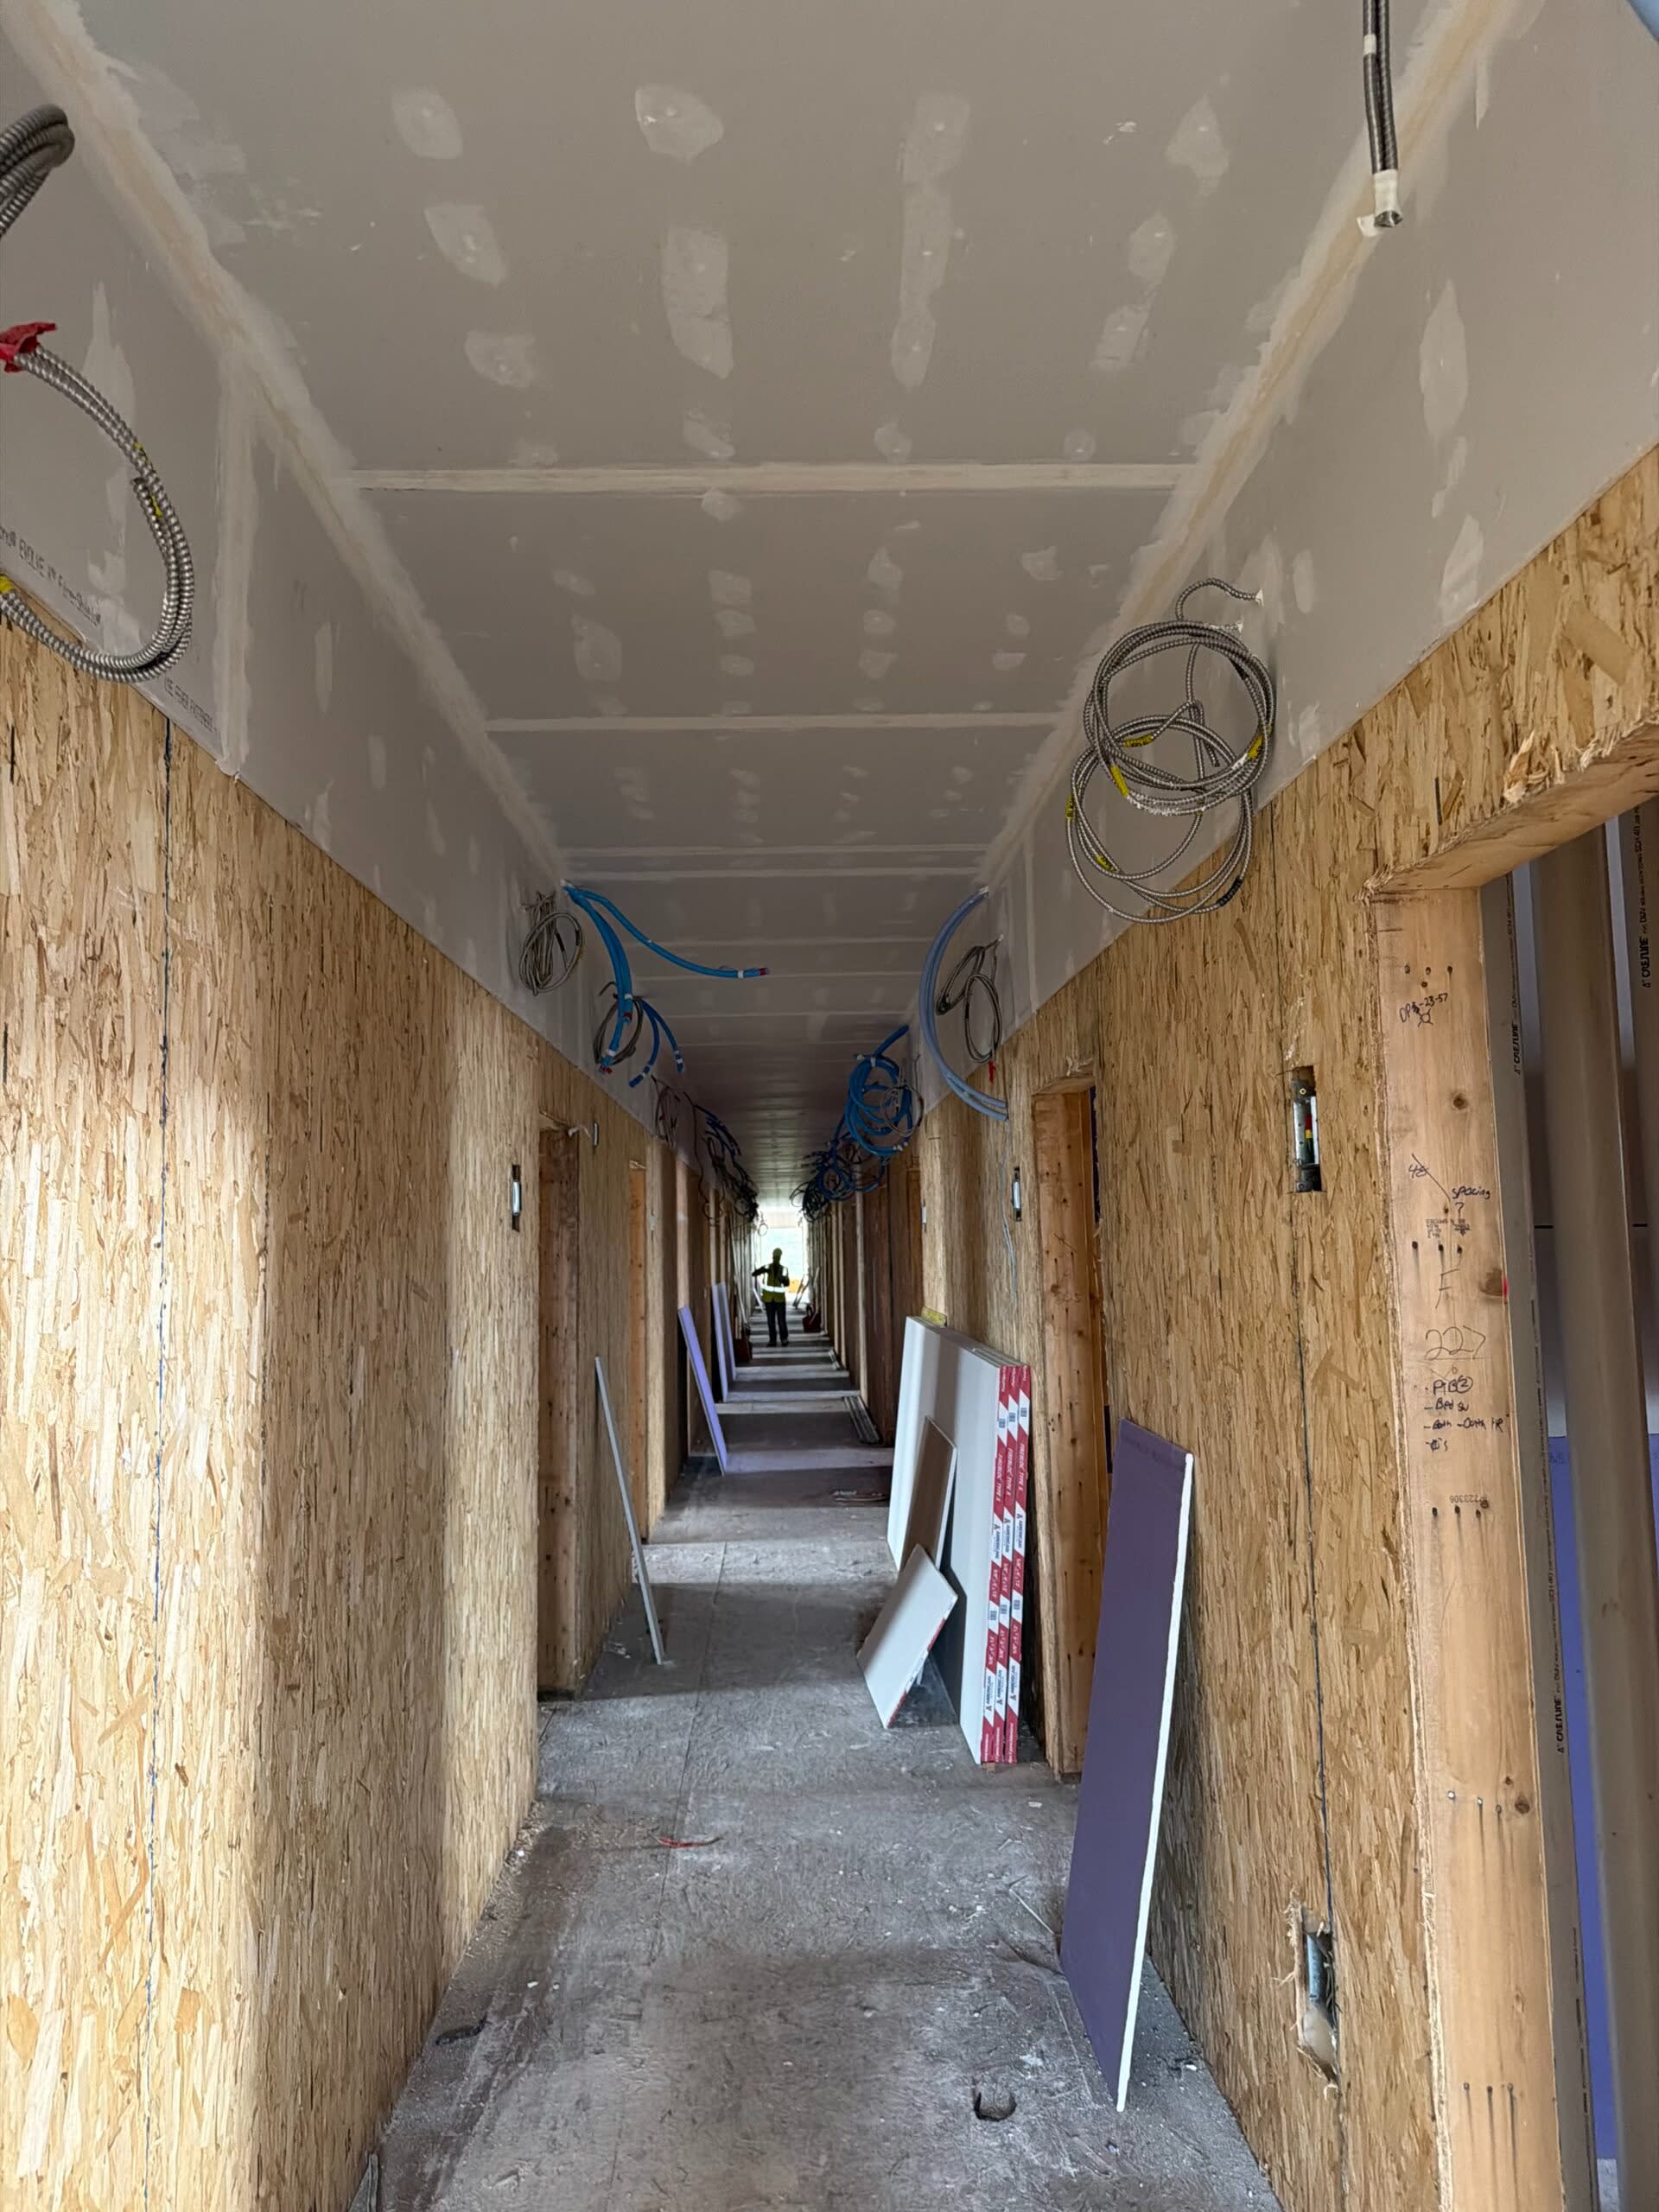
Level 2 takes things a step further. Tape is embedded in the joint compound and wiped down, leaving a thin layer of compound over the tape. Fasteners and accessories also receive a coat of joint compound.
What it looks like:
The seams and fasteners are less prominent, but the wall isn’t intended to look completely smooth or decorative. Some tool marks and surface variation may still be visible.
Where it’s typically used:
You’ll typically find Level 2 in areas where appearance isn’t a major concern, such as garages, warehouse storage areas, or as a substrate beneath certain tile applications.
What it means:
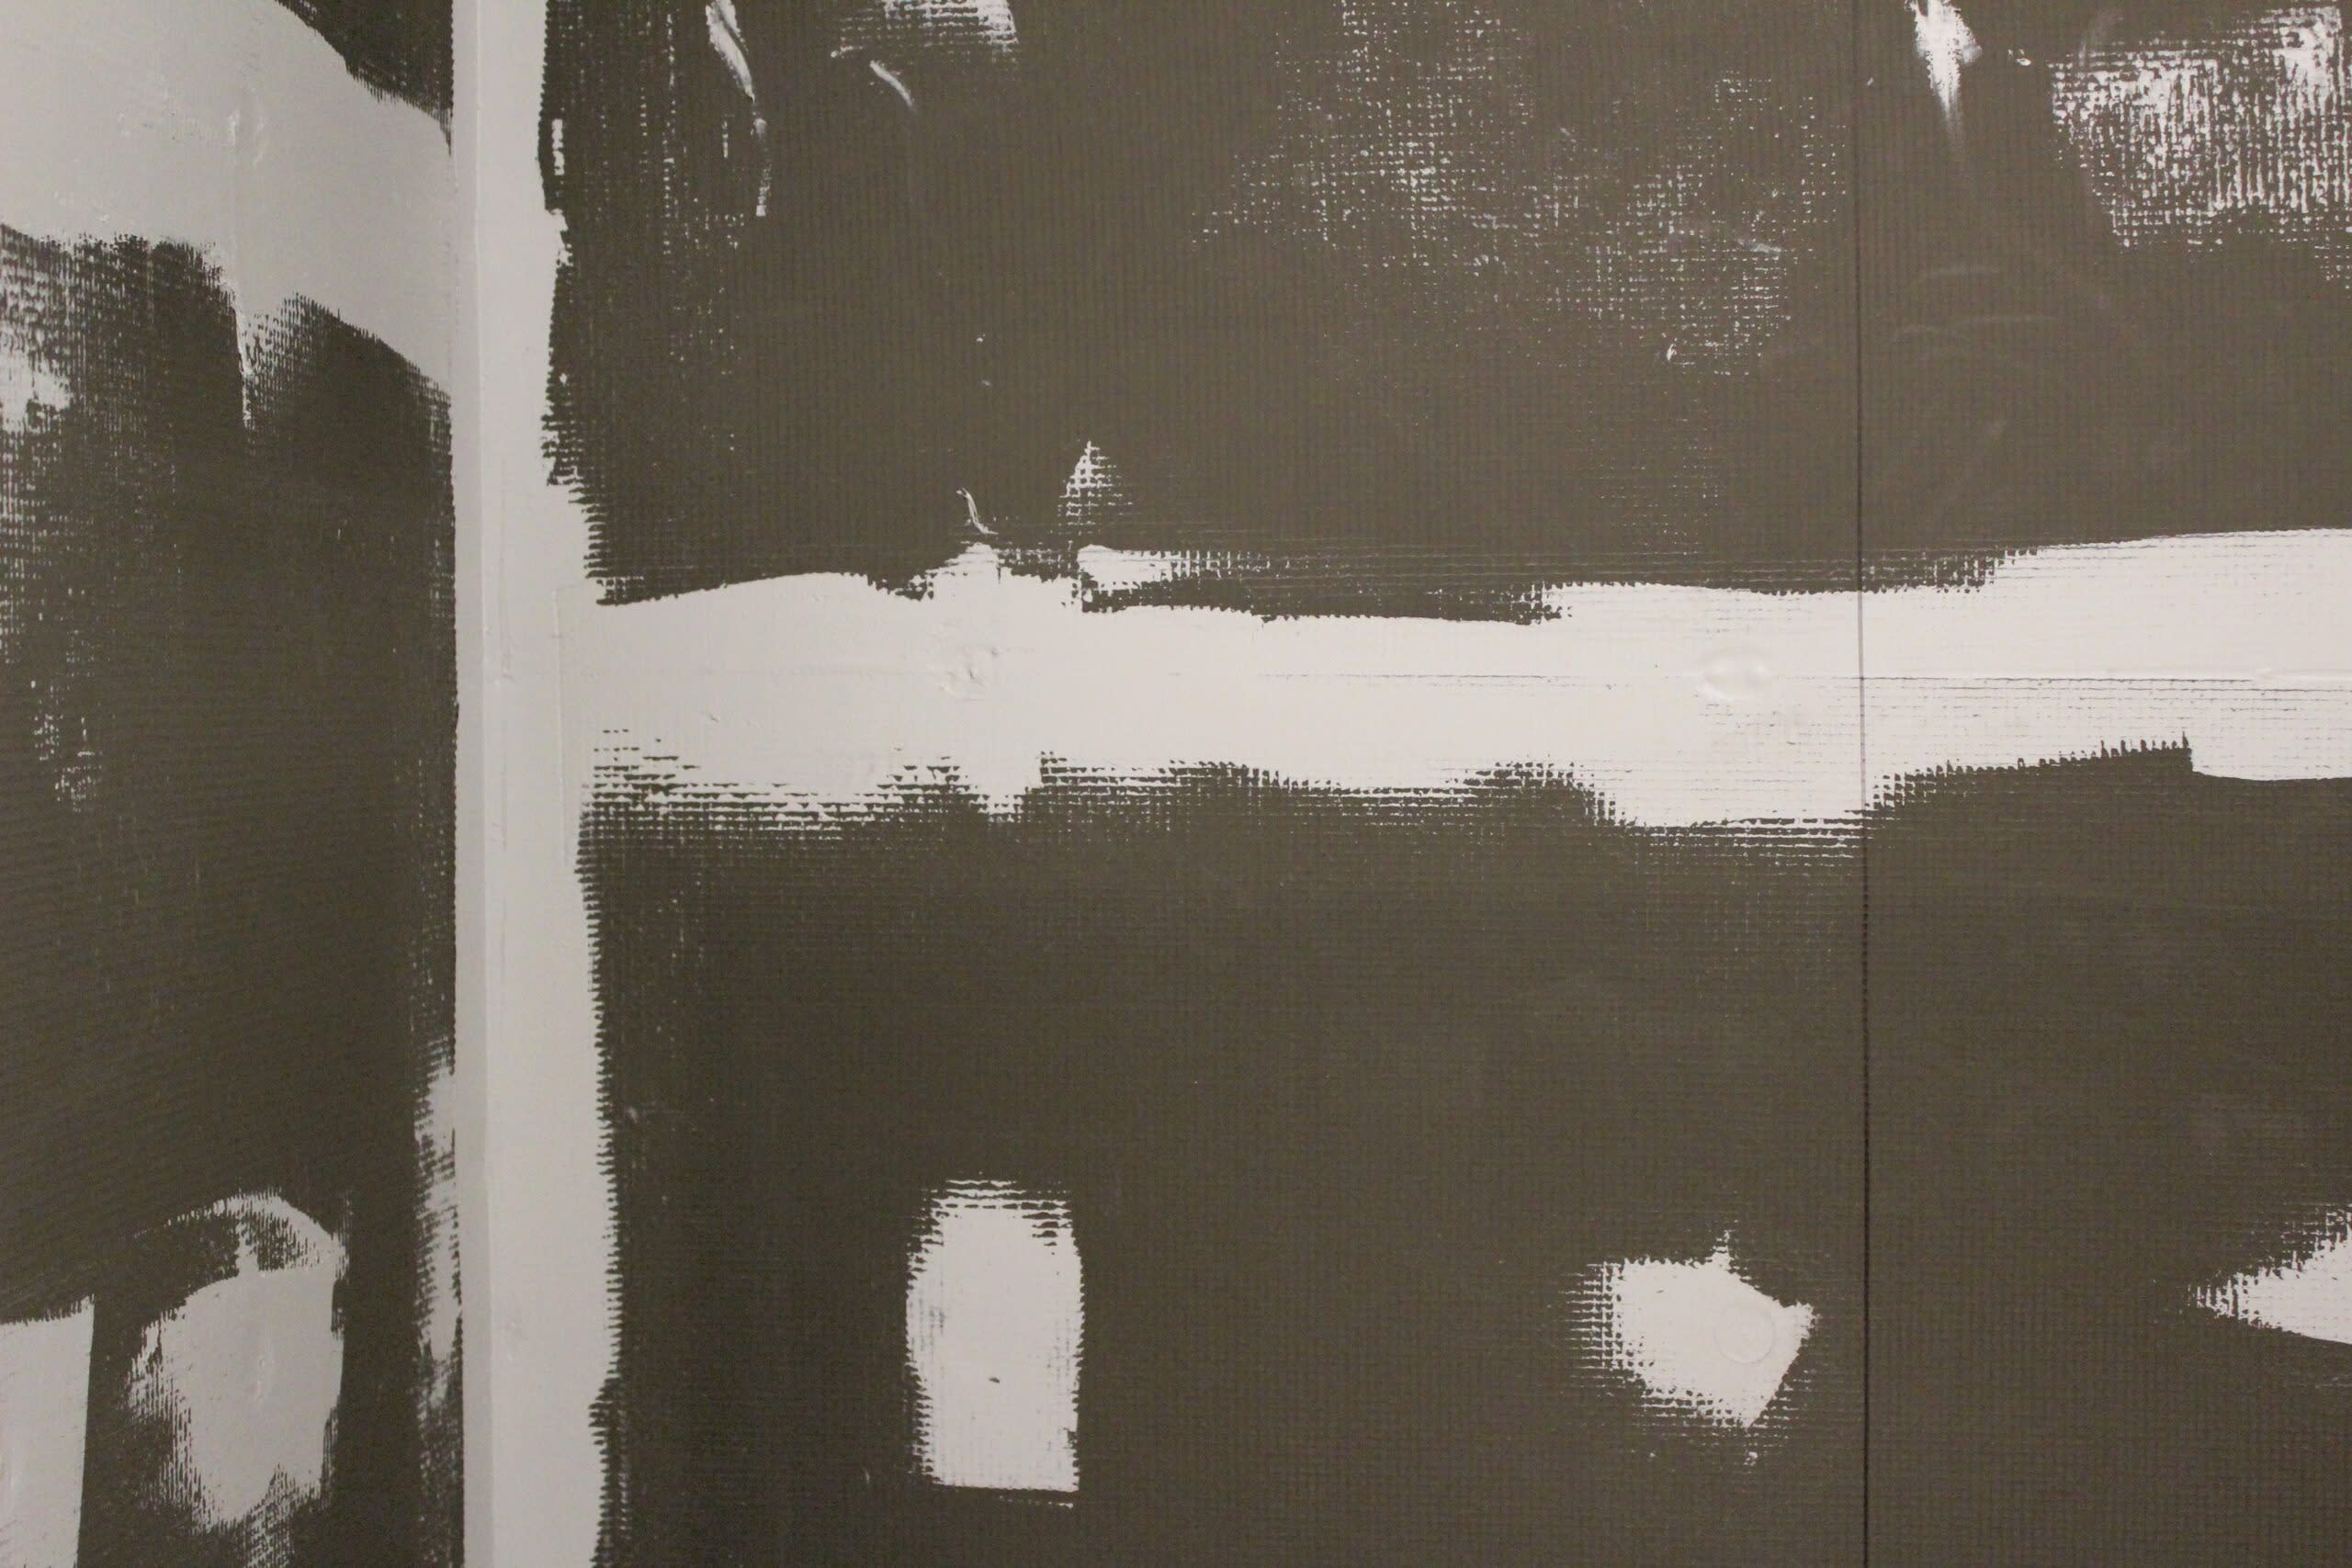
At Level 3, additional coats of joint compound are applied over joints, interior angles, fasteners, and accessories. The compound is left smooth and free of noticeable tool marks and ridges.
What it looks like:
At this point, the drywall starts looking much more finished. Seams and fasteners have been concealed, but the surface isn’t intended to serve as a smooth painted wall on its own.
Where it’s typically used:
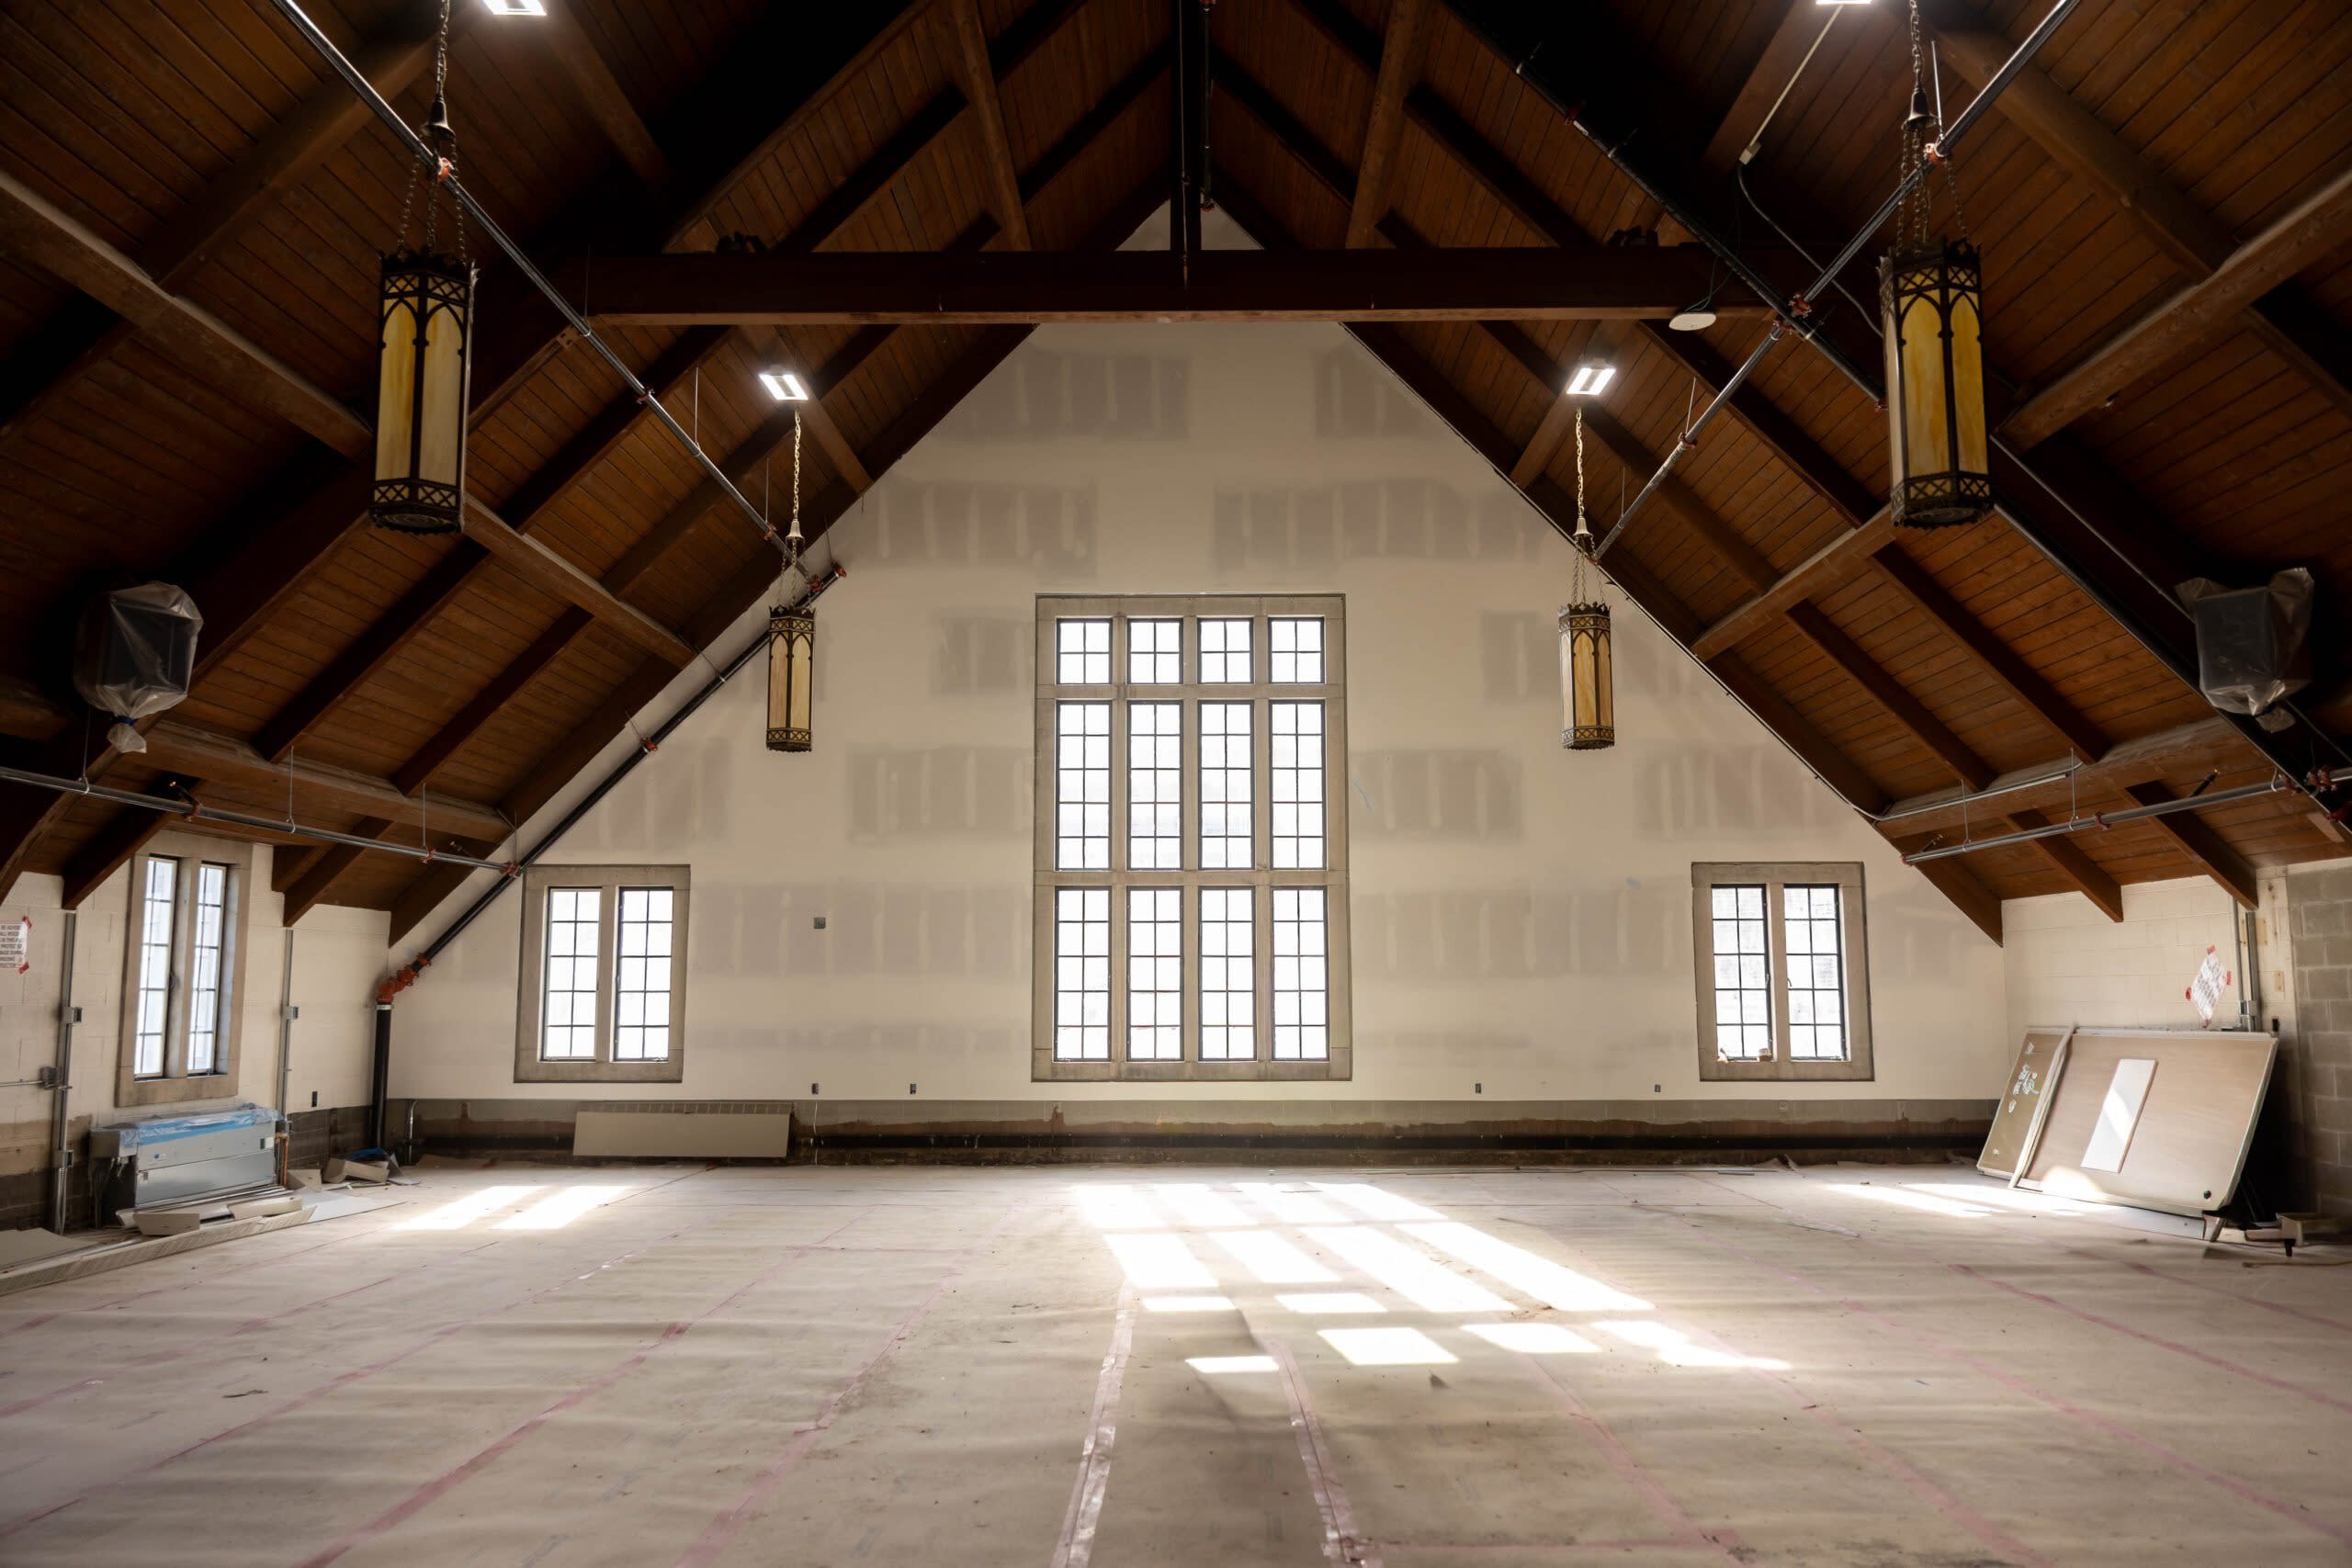
Level 3 is commonly specified when the wall will receive a medium or heavy texture or certain heavier-duty wallcoverings.
At JC Toland for example, our Level 3 finish options include orange peel walls with knockdown ceilings and skip trowel textures.
What it means:
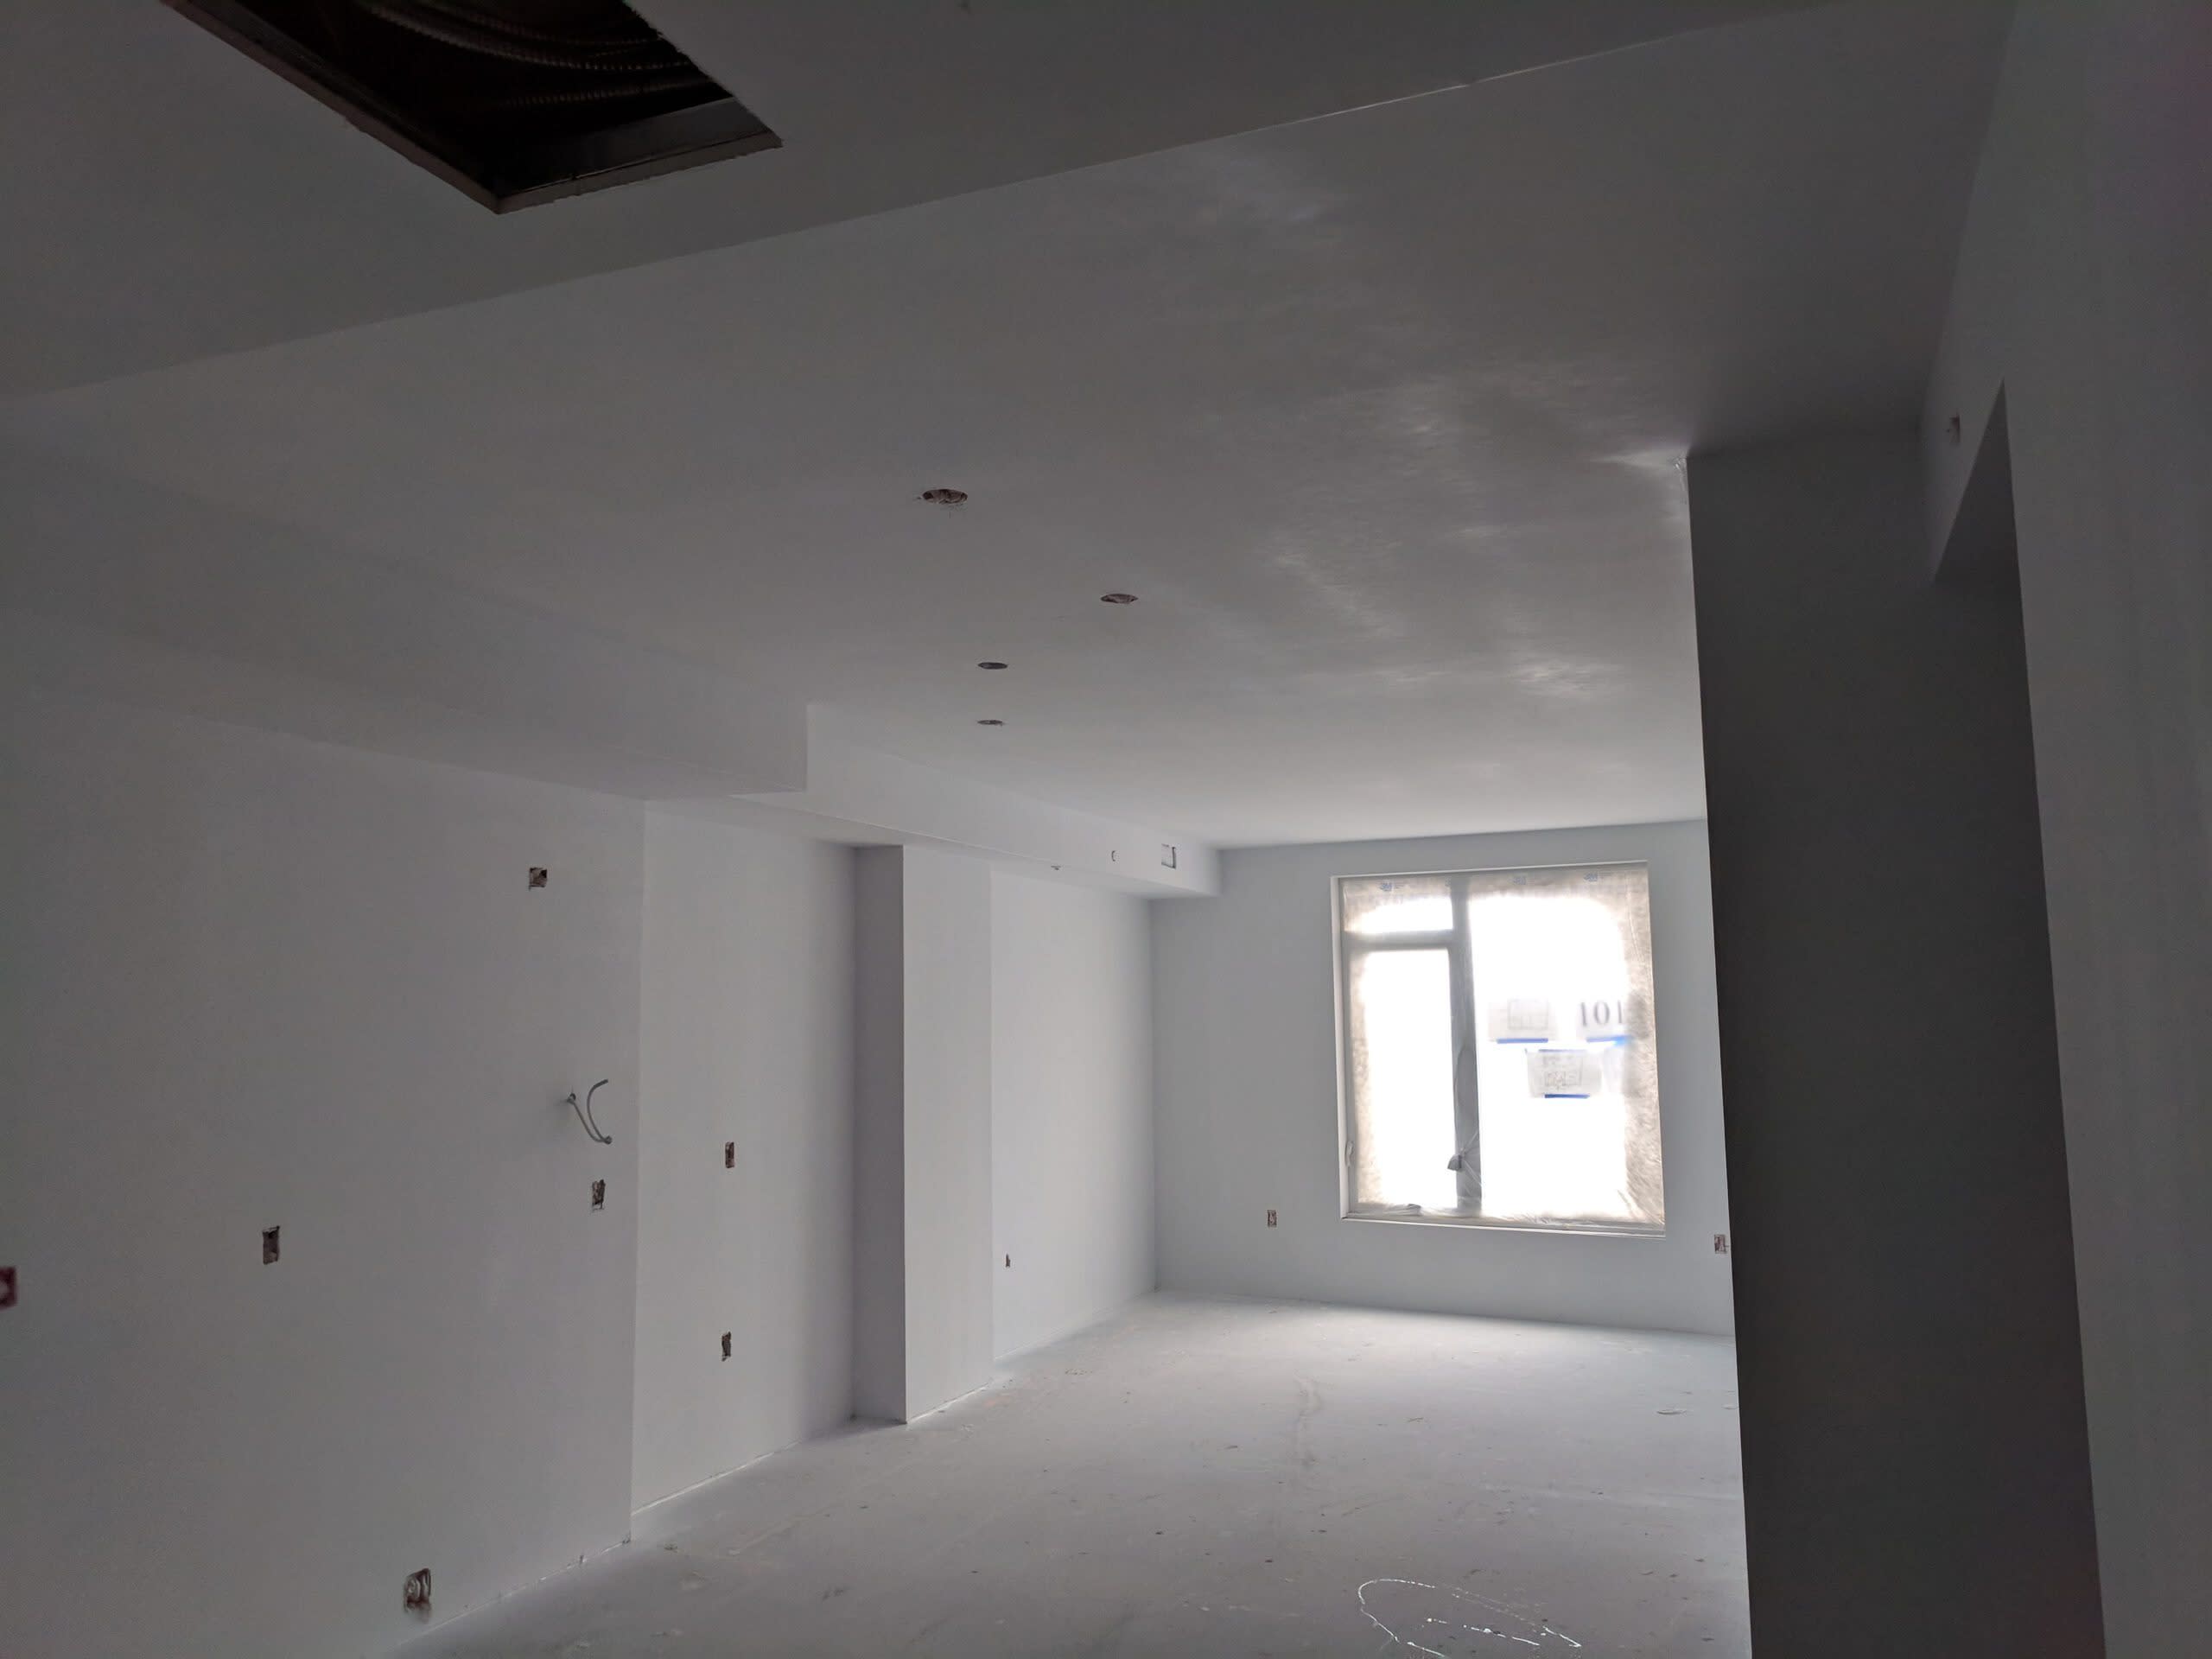
Level 4 includes additional coats of joint compound over the flat joints, interior angles, fasteners, and accessories, creating a much more consistent surface.
What it looks like:
This is the smooth drywall finish most people picture when they think of a completed interior wall. Joints, screws, and other finishing work should blend into the surrounding drywall rather than immediately catching your eye.
Where it’s typically used:
Level 4 is commonly specified for smooth walls that will receive flat paints, light textures, non-continuous textures, or certain wall coverings.
However, lighting and paint selection matter. Dark colors, paints with more sheen, and strong lighting can make small variations in the drywall surface much easier to see. In those situations, a Level 5 finish may be the better specification.
What it means:
Level 5 begins with the same joint and fastener treatment as Level 4, but adds one major step: a thin skim coat or approved surface treatment is applied across the entire drywall surface.
Instead of only finishing the seams, fasteners, and accessories, the goal is to create a more uniform surface from one of the walls to the other.
What it looks like:
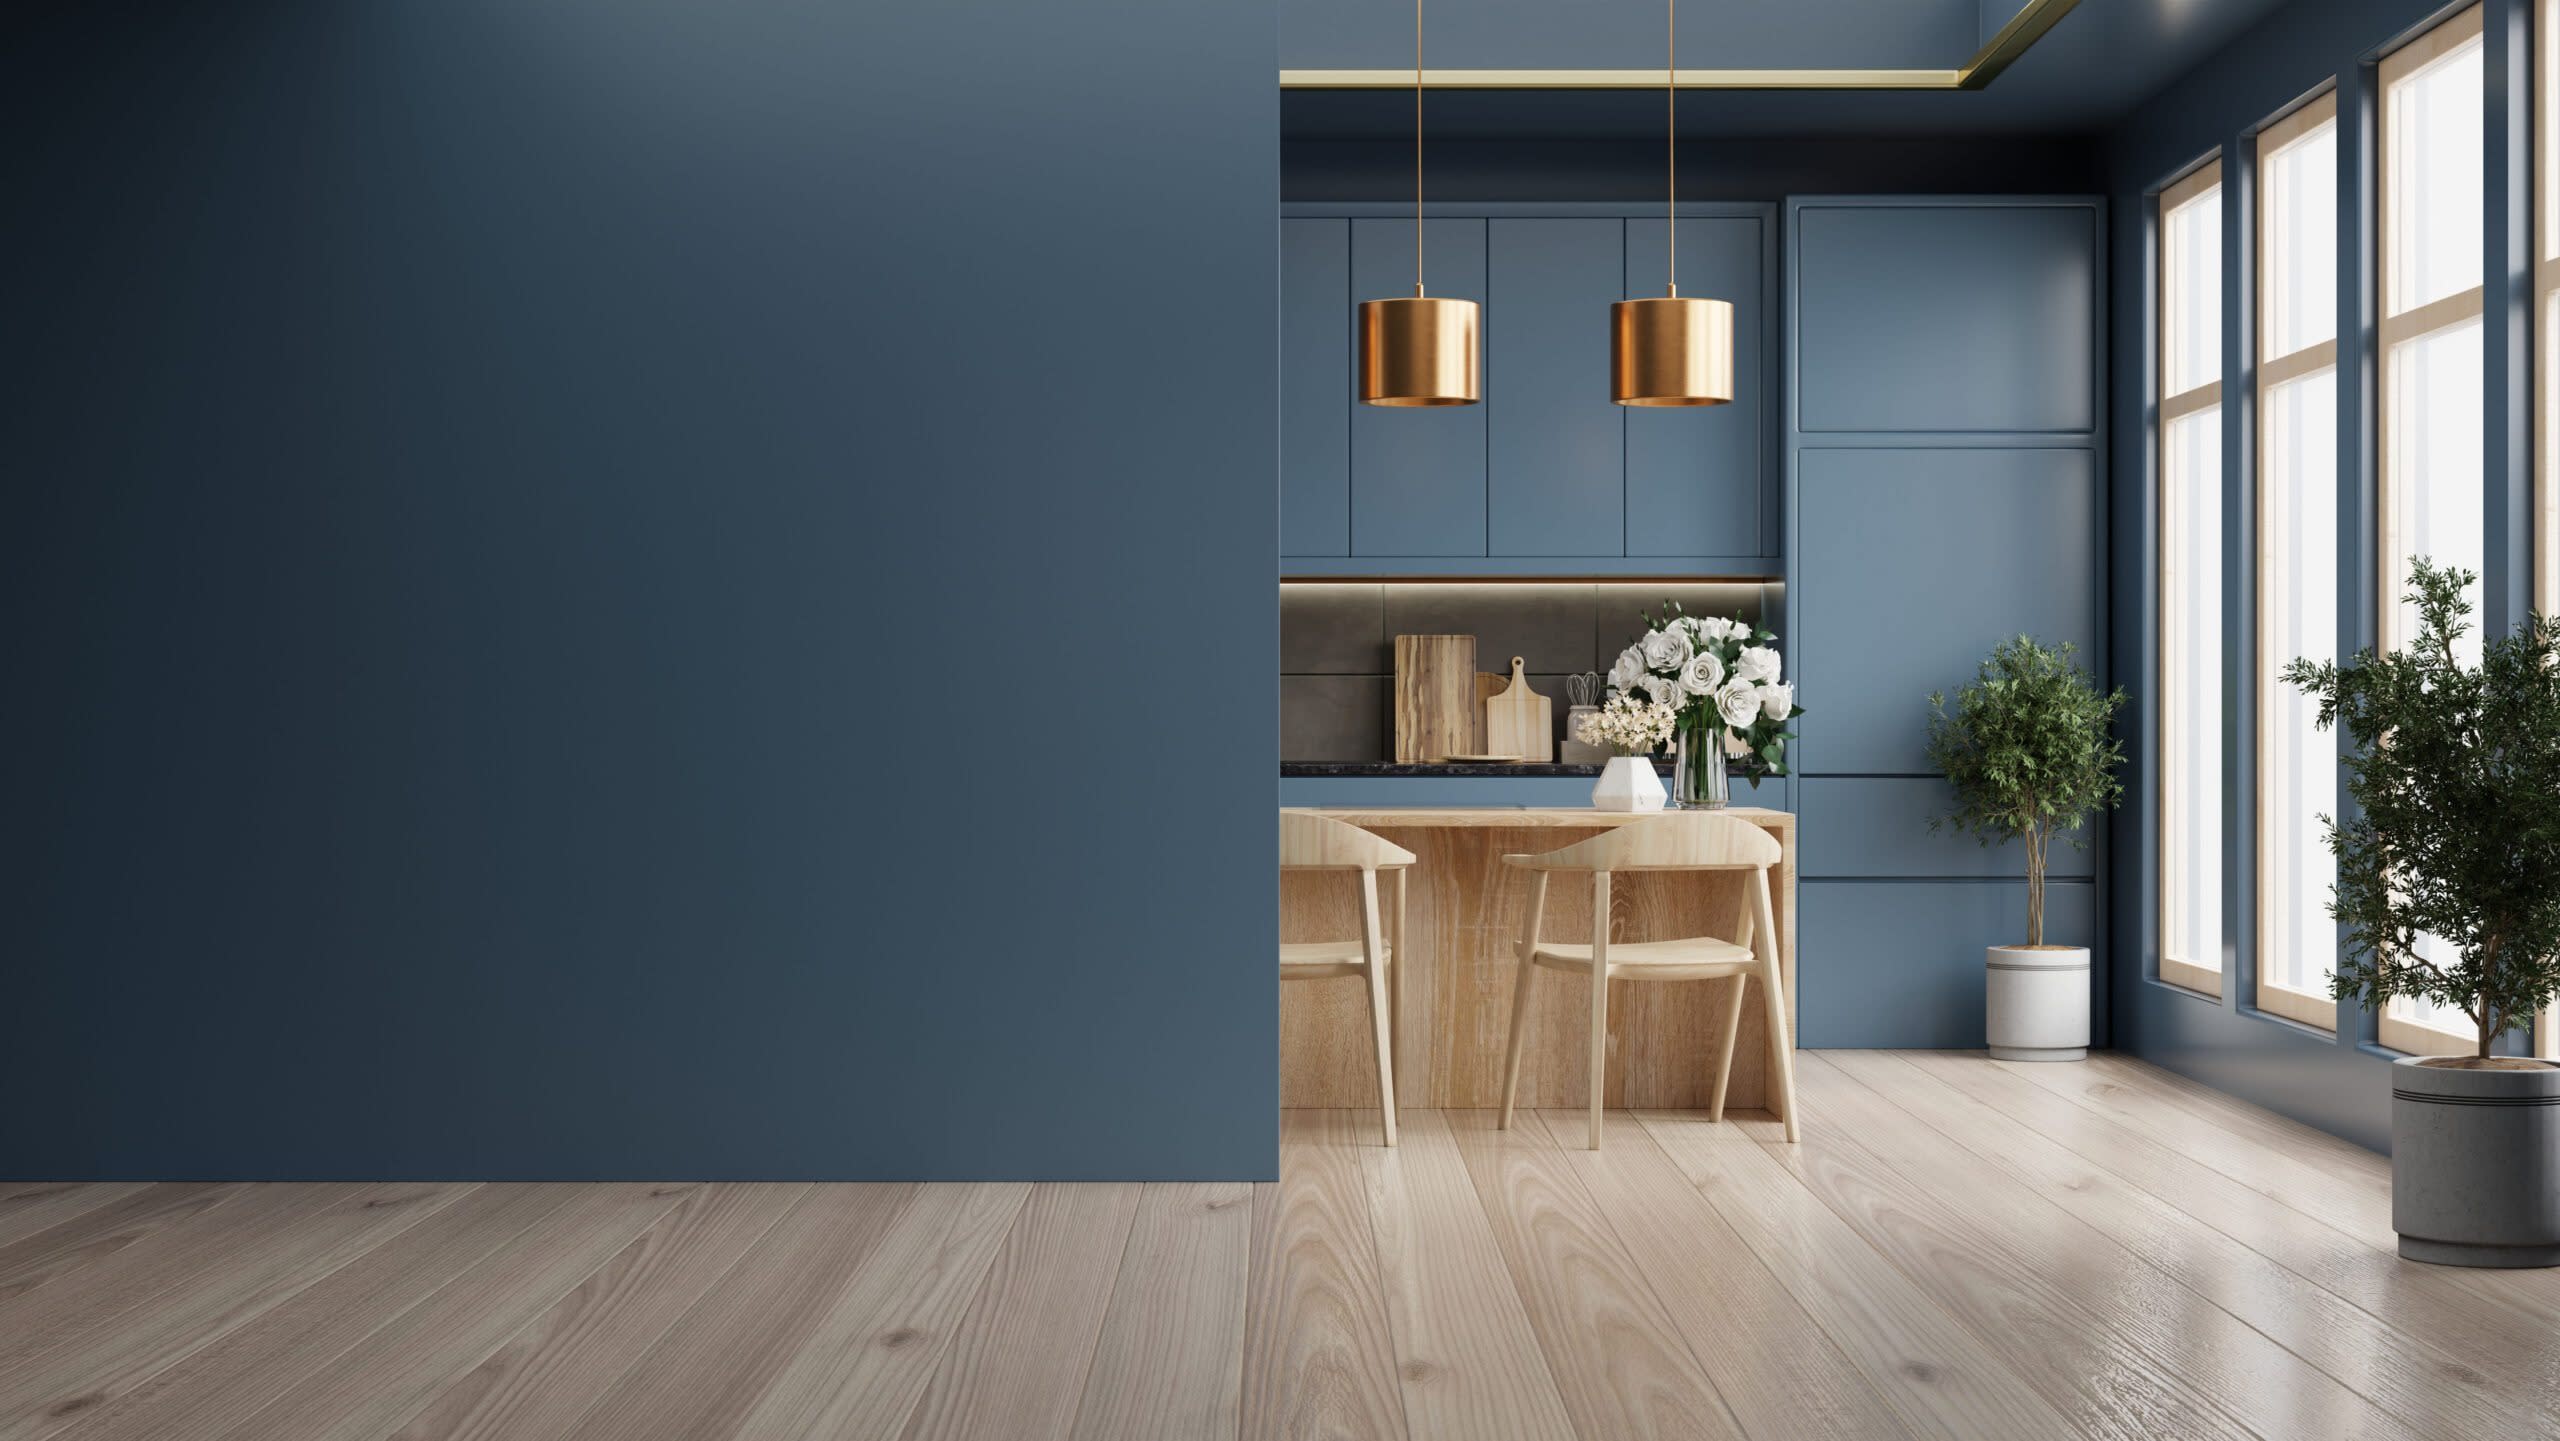
Level 5 provides the most consistent and uniform appearance of the drywall finish levels. The skim coat helps minimize visible difference between the drywall face and areas that have received joint compound.
Where it’s typically used:
Level 5 is typically specified for high-visibility spaces, especially where there are:
These conditions can highlight even minor surface variations, making the additional preparation of a Level 5 finish worthwhile.
One of the biggest misconceptions about drywall finish levels is the Level 5 is automatically “better” than everything below it.
Each level is intended for a different application. There’s little reason to provide a Level 5 finish above a ceiling where it won’t be visible, just as a Level 2 or 3 finish probably isn’t appropriate for a high-traffic lobby with smooth and dark-painted walls and plenty of natural light.
The goal is to match the drywall finish to the final appearance and use of the space.
The finished wall is only as good as the preparation underneath.
At JC Toland, our drywall capabilities cover the process from material procurement and installation through finishing, cleanup, and final painting. Keeping those scopes coordinated helps our team plan for what the finished space is expected to look like, not simply get the drywall hung and move on.
If your project calls for a textured Level 3 finish, a smooth Level 4, or a premium Level 5 surface, it starts with understanding what the space needs before the project begins.
Learn more about our drywall capabilities and talk with our team about the right finish for your project. JC Toland, built right the first time.
Media Contact : cam.ostwinkle@jctoland.com
Related Links : www.jctoland.com
Source : https://www.jctoland.com/jctp-field-notes/